Tuesday, June 29, 2010

USE IT UP #1

#1 True Thyme
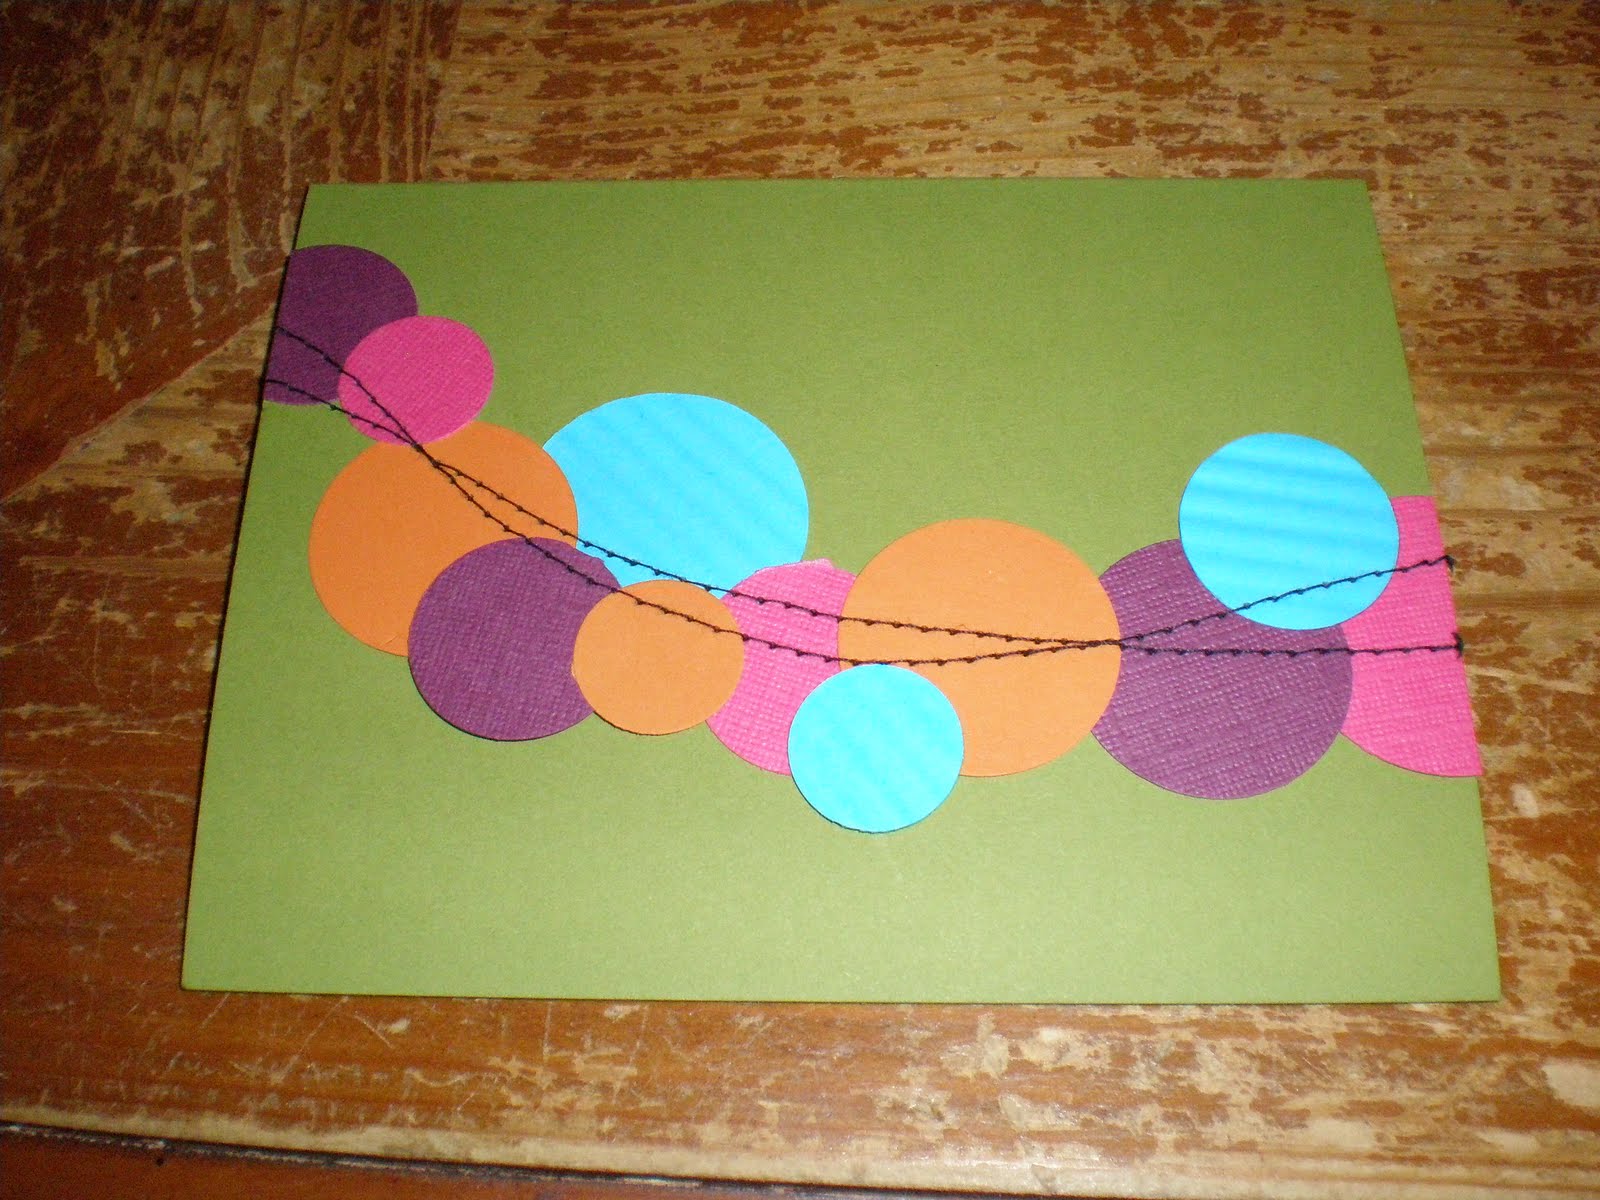
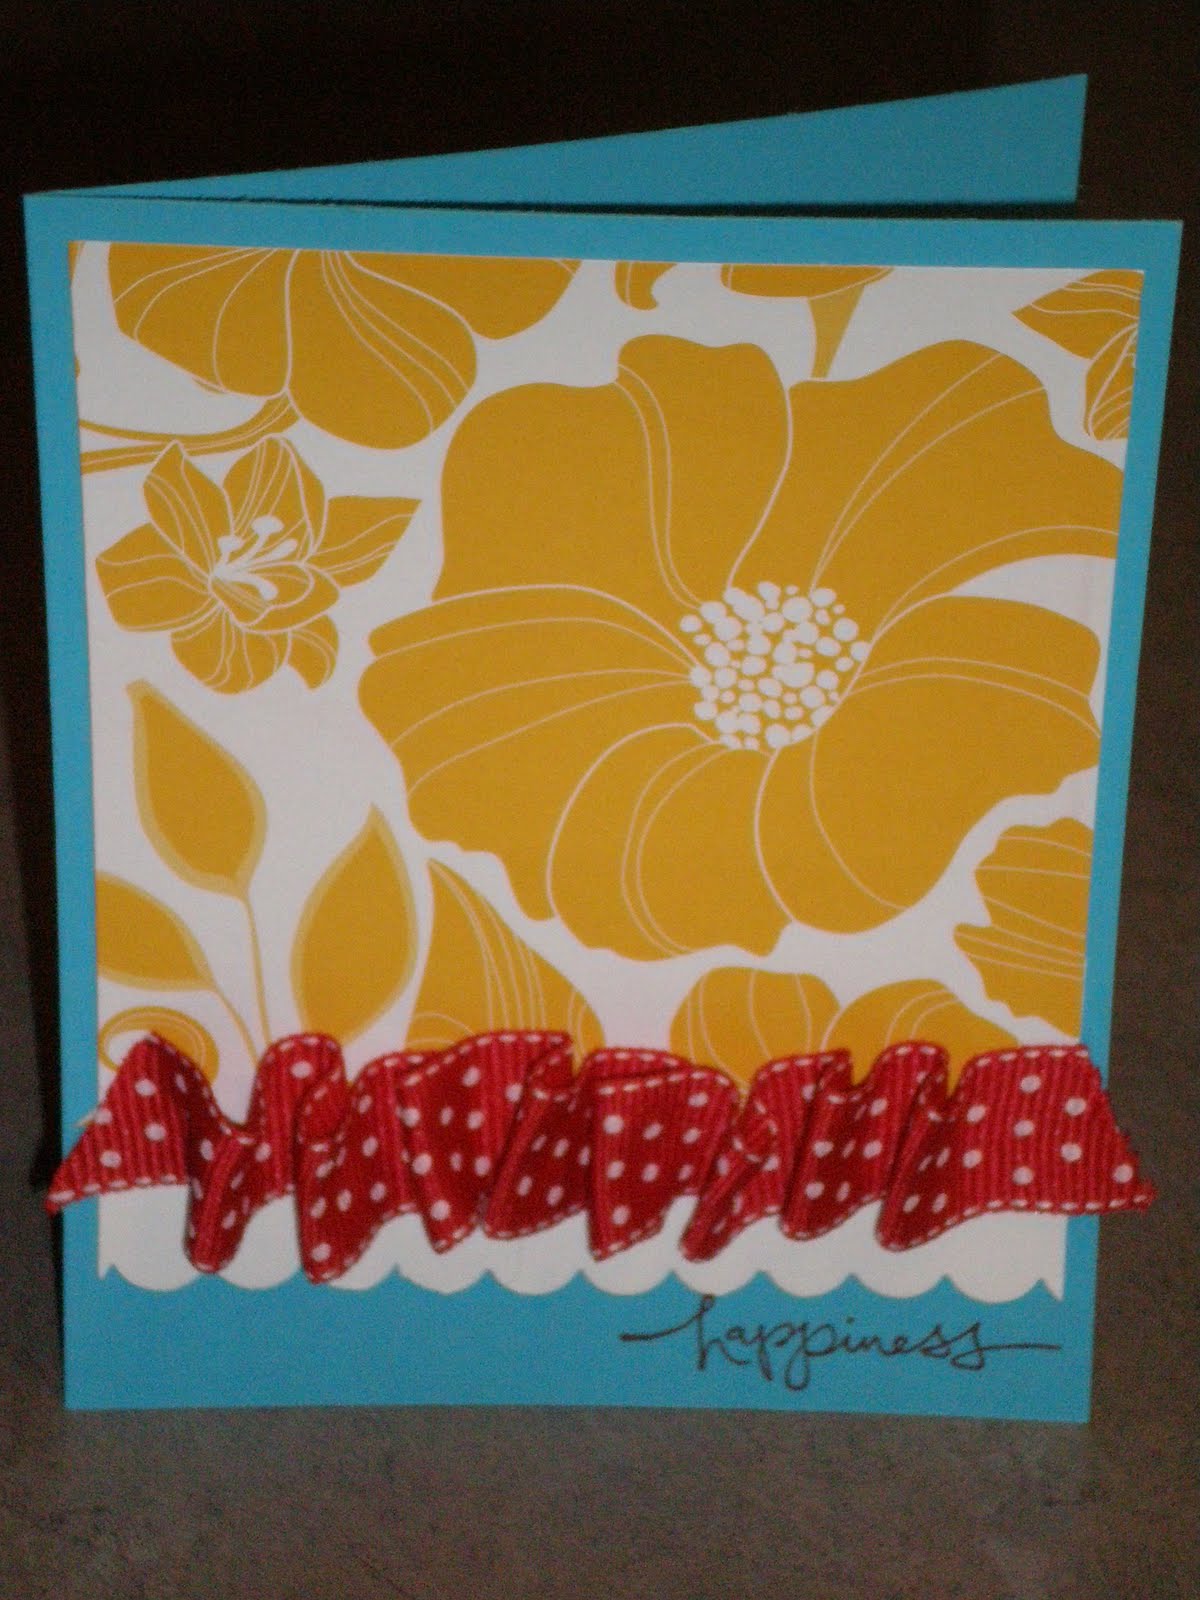
As I was looking through my cardstock I realized I had a full unopened pack of True Thyme cardstock. This was the first time I had ever been exposed to the “retiring list” and felt like I had to have even more because it would NEVER be available again. So I bought plenty. I have even given away an entire pack and still had one. I did learn from this and haven't bought huge quantities of any retiring consumable products since. I loved this color when it was available. It is such an earthy green. I pulled it out and started working. I made the following Christmas cards and showed my husband Steve. Boy did that through a wrench in the works. He told me “I really like that color.” AAAAAGGGGHHHH, now I don’t want to use it anymore. But I will make myself keep using it this week until it is mostly gone.

If you choose to participate with me, you can use anything you have as long as the primary color is True Thyme. The only other thing I ask is that if you are going to participate and post a link to your project(s), that it be Stampin Up Only (SUO).

SUPPLIES:
True Thyme cardstock & ink (retired)
Fancy Fibers “Bella” (retired)
Riding Hood Red striped grosgrain (retired)
Riding Hood Red cardstock & ink (retired but coming back 7-1-10)
Early Espresso cardstock & ink (coming 7-1-10)
Natural Ivory cardstock
Square Lattice embossing folder
Lovely as a Tree
Cardinal Christmas
Tag Punch

I admit it;

I am a hoarder…of craft supplies.


As I have been trying to make myself only use current items from Stampin Up, I have realized that I have way to much retired stuff that I just can’t seem to part with. Some of which hasn’t even been opened yet, like Vintage Violet Cardstock and Purely Pomegranate Satin Ribbon. Not to mention all of the retired stamps. And for different reasons I just can’t make myself buy more supplies when I have SO many unused. So I have created a goal for myself. I will be trying VERY HARD to use up what consumable products I have before I buy anything new. And yes there is a lot of NEW stuff I want from the 2010-2011 Stampin Up catalog.

Now I know I am NOT the only one who hoards their stuff, so I thought I would make it fun. I think that I am going to create weekly challenges to “USE IT UP”. Don’t worry because you can use ANY of your supplies that you already have. Remember the goal is to “USE IT UP”. Feel free to play along and even post a link to your project.


Thanks for Stopping by.

Saturday, June 26, 2010

They're here!!!

My Stampin Up catalogs have finally come. Well to be honest they have been here since Thursday. I just haven't had time to announce it. Would you like a free copy? Contact me to find out how.

Thanks for Stopping by.
Jill

Wednesday, June 23, 2010

Sewing on Cards Part #2...

This is the second installment of sewing on cards. I hope that this will help someone else in their efforts to do what appears to be a developing trend. I learned a lot and hope that my mistakes will be used to the benefit of others. When I first decided to make these I knew I wanted to sew on them. I was totally oblivious as to how to do it. So I decided to do it as if I weren’t going to sew on them. I punched various sizes of circles, in various cardstocks (textured and crimped) and using my SNAIL I put a very small amount of adhesive on the backs to hold them in place. I left them overlapping on purpose because I wasn’t really sure of what I was doing or how it was going to end. I started sewing on the overlapping circles and went all the way across. I left plenty of overhanging thread, again because I didn’t know how it was going to end up or how I was going to tie it off.
 
This is where I really learned the error of my ways. I had to then take my paper piercer and remove the thread from the overlapping circles, cut the circles level with the card base and somehow tie up the loose ends.
I tried to first tie them and cut very close (right side), then I tried applying some SNAIL adhesive to the thread and tucking it behind the circles (left side), then I went with my Tombow Adhesive and applied a small amount onto the first threaded puncture hole at the edge of the card base (not shown).
I learned some very important and time saving things and they are…
*Trim the overhang from the card base first.
*Backstitch to secure the edges.

Here is the finished project. It was a lot of work but worth it. This is a cast party invitation for the cast of “J-Force”. This is the drama that the kids will be doing at music camp this year. Music camp is a week long program offered at my church for kids during the summer. They learn a musical, an instrument and do crafts. Then at the end of the week they perform the musical and demonstrate the instrument by playing the song they learned. It is an amazing experience and the kids work really hard. This year one of the other “drama moms” suggested a cast party. I was asked to make the invitations, which I jumped at.
Supplies:
All Year Cheer (retired)
Tempting Turquoise cardstock
Old Olive cardstock
Pumpkin Pie cardstock
Brights Collection textured cardstock
Crimper
¾” to 1 3/8” circle punches
Itty Bitty circle punch

Thanks for Stopping by.

Sewing on Cards Part #1...

I have noticed a trend with the Stampin’ Up catalogs for the last two years (09-10 & 10-11). In both catalogs there are so many projects that have sewing on them.

Now I have to admit that I have had a sewing machine for over ten years now and have used it probably four times. After researching it and getting my courage up, I decided to drag it out of it hiding spot in the top of my closet and put it to use. I followed the instruction book for the most part, but decided I needed something that I could reference more quickly and easily than the book. So I made reference sheets.

I decided which materials I would sew the most of and came up with cardstock to cardstock, designer paper to cardstock and textured cardstock to cardstock. (I will be testing and making ribbon samples at a later date) I am very forgetful at times, especially if I don't use the information alot, so I made notes on the base. I noted which stitch, the tension, and stitch width and length. It was so worth the few hours I spent in advance to have a quick and easy reference in the future.

The best advice I can give is that when you are testing your tension is to use two different colored threads so you can distinguish between the top and bottom threads.

The next best advice is to go for it. Pull out the sewing machine or clean the dust off of it and put it to use. After all it’s only paper and you can use scraps.

Thanks for Stopping by.

Vacation Bible School

This week is VBS at my church. My posting will be sporadic at best since I will be busy in the evenings this week.

I am in the process of working on some invitations. When they are complete I will post them.

Thanks for Stopping by.

Wednesday, June 16, 2010

Quick and Easy Father's Day Project


I saw this in Family Fun magazine and thought I can do that. This is a very fast, very easy and kid friendly too. Casey and I made this in about thirty minutes. I followed the directions given but after doing the project, I got to thinking that this would be so cute for any occasion really. Instead of covering the box, you could make your own in any size. Change the paper and tag and you could make it for anything.


Imagine a birthday celebration with this. You could fold and tape (non-permanent) money together. What a surprise that would be to the child as they pull more and more money out of the box. If you did this you probably would not tape it down on the inside of the box.

What about an “over the hill” card. For instance Steve will be 40 this year; I know that’s not THAT old but it is an example. I would cut the number 40 out several times using the Big Shot Die Cutting Machine #113439 and the exclusive Stampin’ Up medium sizzlit die Timeless Type Junior Alphabet #115951. I would stick them to a piece of cardstock, with the message, and roll it into the box.

There really are a lot of possibilities with this box, more than I thought when I first saw it.


Supplies:
Basic Black Cardstock #106532
Brushed Silver Cardstock #100712
Summer Sun Cardstock #107097 (while supplies last)
Sticky Strip #104294


Thanks for Stopping by.

Monday, June 14, 2010

Sneek Peek #1

I was so excited to get some of the new Stampin’ Up products. I really love the new catalog and can't wait to share it with you. I have spent a lot of my free time lately looking through it. I am having a hard time deciding what I want to buy first.

I have always liked the vintage look and when I saw the Newsprint DSP, I had to have it. I also believe that you can never have too many sentiments, so I had to get the Level 3 Hostess Set Occasional Quotes. Want the set? Contact me to find out how to get it free.


Supplies:
Stamps: Level 3 Occasional Quotes, Upsy Daisy, Medallion, Extreme Elements
Paper: Very Vanilla and Basic Black Cardstock, Newsprint DSP
Punches and Die Cuts: Itty Bitty Shapes Punch Pack, Scallop Oval, Lg. Oval Punch, Wide Oval Punch, Top Note Die Cut and Beautiful Butterflies Die Cut
Misc. Supplies: Pretties Kit, Library Clips, Black Embossing Powder, Hemp Twine, Dimensionals

Thanks for Stopping by.

Friday, June 11, 2010

The Final Goodbye...

This is the last of my products that I am trying to us up. And the timing couldn’t be better because I have some new goodies to start using.

I was in need of a gift box for my most wonderful husband when I stumbled across this Tie Box Template by procrastistamper. I knew immediately that I was going to make one. What better way to give a “Father’s Day Tie” without giving a Father’s Day tie. This would be perfect for just about any gift, golf balls and tees, movie tickets, chocolate, etc... I can't tell you what I am putting in it, just in case he reads this.


Retiring Products Used (While Supplies Last):

Bella Bleu Designer Paper #113974 (lid)
Horizontal Punch #105089 (tag)
Tag corner Punch #107215 (tag)
Earth Elements Brads #106955 (tag)

Thanks for Stopping by.

Wednesday, June 9, 2010

A Fond Farewell...

Today’s cards showcase some of the retiring items from Stampin’ Up! This was really, really hard for me to do because I have a tendency to hoard my stamping supplies. When I purchased it I loved it and in some cases that is still true but in others, not so much. Not so much, because it isn’t in style, my style has changed or I just don’t like it anymore. I decided to thin out my supplies starting this year with the retiring list. For the rest of the month or while supplies last, I will be trying to use up my retiring products.

Retiring supplies used…
Pink Flamingo Designer Series Paper #113976
Summer Sun Cardstock. Sorry this is Sold Out but not to worry there is an awesome replacement coming (Daffodil Delight)
Summer Sun Classic Ink #100537
Cameo Coral #107098 (12 x 12 is all that is left and while supplies last)
Cameo Coral Marker #100074
Bold Brights Brads #106957
¾” Real Red Polka Dot Grosgrain Ribbon #115608
Wings of Friendship #114308
Warm Words #115108
Embrace Life #114958


Thanks for Stopping by.

Saturday, June 5, 2010

Dogwood Pages

Since the dogwood blossoms were so easy to make, I decided to make a few more and put them on a couple of 12 x 12 pages. I love the color combo, Chocolate chip, Old Olive and Pink Pirouette. I am so excited that Stampin’ Up is bringing that one and some others back from retirement. I used all the same supplies as before except this time I colored the Bridesmaid paper with Pink Pirouette. I love how the shiny part of the paper won’t hold color. It makes it much more versatile to use because you can color it to match whatever color scheme you are using. If you want to order the Bridesmaid paper (#116479), do so now because it is only available while supplies last.


The only problem I have with these pages is that I don’t have any girls to scrapbook for, so the pages will sit picture less in my desk.

Thanks for Stopping by.

Friday, June 4, 2010

Waterlillies and Dogwoods

A few weeks ago I had a “stamp play date” with my adopted up-line Sharon Field. We followed a magnolia flower tutorial by thescrapinmama. I didn’t like how mine turned out and was a bit frustrated. After pondering it for a while I thought that it looked more like a water lily than a magnolia. So I changed the color and I sponged the centers instead of the edges. I punched the required amount but after trying to do the tutorial from memory, I added fewer petals to achieve the look of a water lily. I used orange beads from the bead duo for the center.


The extra petals that I had punched were lying there and I thought that it kind of looked like a dogwood blossom. So I punched a 3/4 inch circle and added four petals. I used the orange beads again for the center. I free handed the veins of the leaves with a stylus.


I used all of the above flowers for box toppers. The dogwoods could easily used be used for a scrapbook page because it isn't as dimensional as the water lily/magnolia.


Supplies:
Ornament Punch #116794 (carried over)
¾ Circle Punch #107217
1 ¼ Circle Punch #104403
Regal Rose Classic Ink #105211
Old Olive 12 x 12 Cardstock #106544
Pink Pirouette 8 ½ x 11 Cardstock (returning)
Chocolate Chip 12 x 12 cardstock #107102
Bridesmaid Specialty Paper #116479 (whiles supplies last)
Orange Bead Duo #110732 (while supplies last)
Stylus #100663
Sponge Dauber #102892
Pop-Up Glue Dots #104183 (while supplies last)
Tombow Multi Purpose Adhesive #110755
Sticky Strip #104294

Thanks for stopping by.